
Entertainment
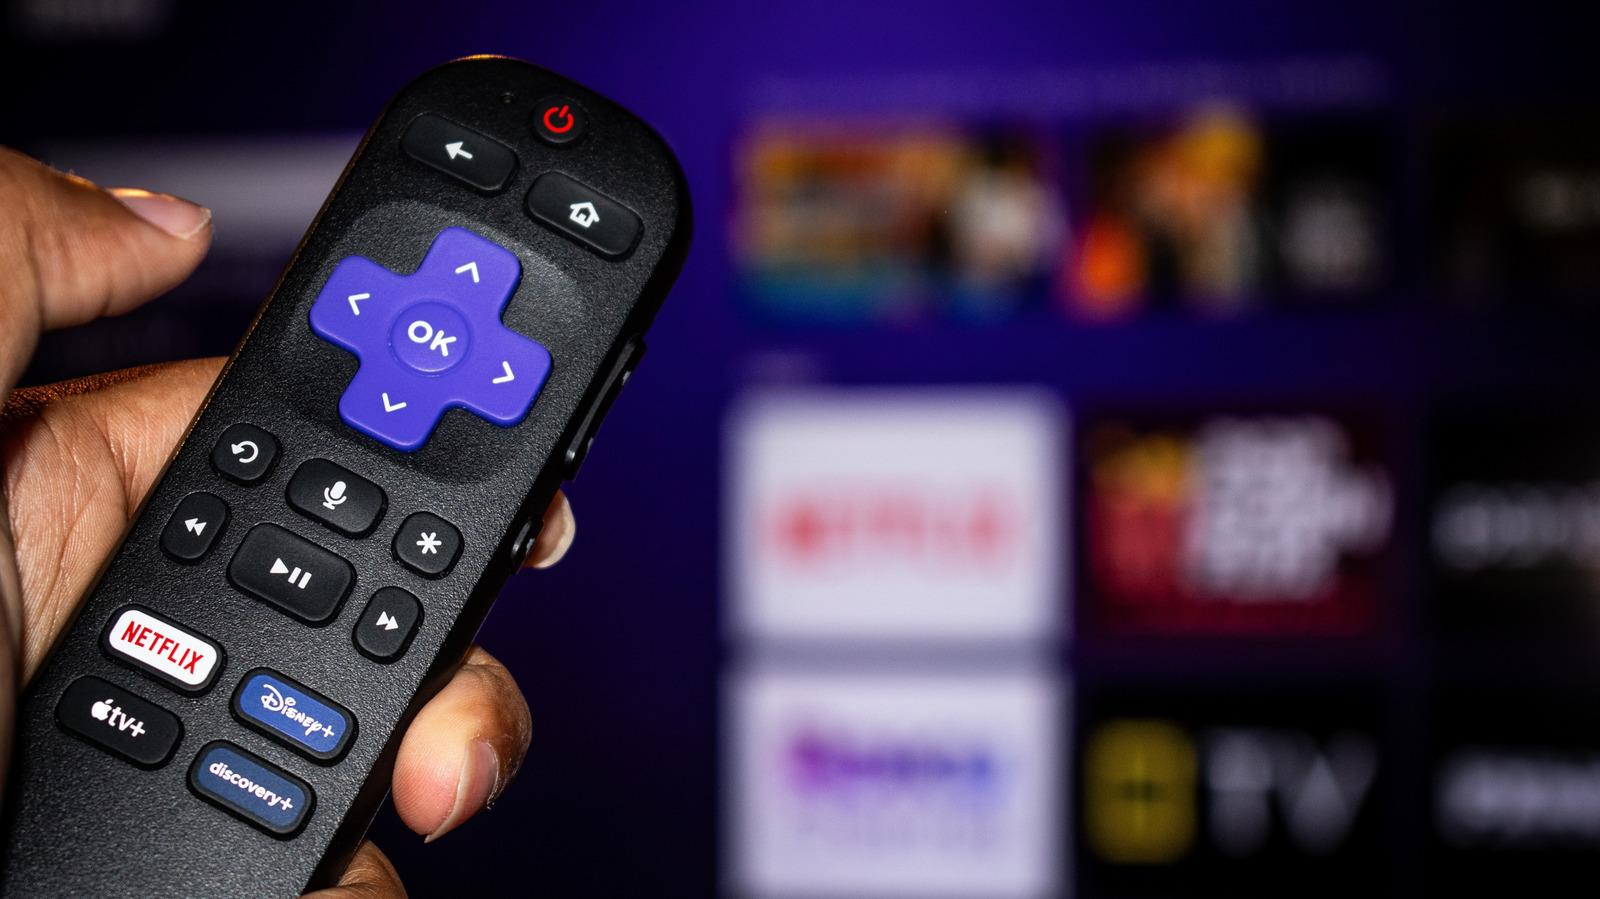
Improve your Roku TV's image quality by changing these settings
Key Points
Improve your Roku TV's image quality by changing these settings Your Roku TV doesn't look as good as it could when you take it out of the box. Out of the box, your Roku TV likely doesn't offer the best possible picture quality. This is because manufacturers often choose default settings to make their TVs stand out amidst a sea of competitors in stores.
Improve your Roku TV's image quality by changing these settings
Your Roku TV doesn't look as good as it could when you take it out of the box.
Out of the box, your Roku TV likely doesn't offer the best possible picture quality. This is because manufacturers often choose default settings to make their TVs stand out amidst a sea of competitors in stores. But with a few adjustments, you can get a more neutral image that looks more lifelike and preserves the artistic intent of whatever you watch.
You don't need any professional display calibration equipment to get the most out of your Roku TV. A different picture mode or a handful of small adjustments to the TV's settings can make a surprisingly big difference to the image. Understanding what each setting means on your Roku TV helps you know which ones to pick for the best picture quality.
The best picture quality settings for your Roku TV
Modern TVs ship with several picture modes, but some are objectively more accurate than others. Some higher-end models even go as far as offering a Filmmaker mode that disables much of the TV's image quality tweaks and post-processing. But if your TV lacks a calibrated or Filmmaker mode, you should be able to manually tweak several settings to improve the image quality.
You'll find these picture modes on your Roku TV by pressing the * (star) button on your remote and selecting Picture Settings. If it doesn't appear, start playing something first. You should find three options here: Display Brightness, Picture Mode, and Customize picture.
Starting with Picture mode: choosing Standard or Movie will offer the best accuracy, while Vivid will boost color saturation, brightness and contrast. While manufacturers often use Vivid mode to emphasize their TVs in showrooms, the image almost always seems more exaggerated than it should to my eyes. Between Standard and Movie modes, the latter will have less image processing and skew slightly warmer in color temperature. Finally, Roku Smart Picture will try to detect what's on display and pick the right picture mode for it.
You could stop after picking a picture mode, but also have the option to further dial in specific settings like brightness, contrast and sharpness in the Customize picture menu. The Backlight setting does what it suggests; a higher value (greater intensity) is generally better for bright rooms. You'll want to adjust the other settings gradually, depending on what looks good to your eyes.
For instance, a higher contrast or sharpness value isn't always better, as the latter can make the picture look overly processed. I'd recommend increasing or decreasing these levels in small increments, then watching something to see how they look in practice. If you need guidance, you should be able to find recommended calibration guides for your model online, which gives you a baseline to work from.
Expert settings on a Roku TV to further improve image quality
Under the Customize picture menu, you'll also find the Expert or Advanced settings sub-menu. Within it, the main setting to watch out for is Action Smoothing, Action Clarity or LED Motion Clarity. Motion interpolation, or smoothing, makes fast-paced content appear more fluid. This can work great for sports, but gives movies and almost anything else you watch on your TV an artificial or "soap opera" look. You can disable it entirely or set it to Low.
Depending on your TV model, the Expert settings menu should also house a handful of other image post-processing options like Noise Reduction, Color Temperature and Dynamic Contrast. While you can pick which color temperature setting looks best to your eyes, turning down or disabling Noise Reduction and Dynamic Contrast will yield the most accurate image.
Finally, keep in mind that these picture settings apply to each input separately. However, the Customize picture menu offers a handy Apply settings to all inputs button at the bottom if you don't want to fine-tune each one.
Why you should avoid Low Power mode on Roku TVs
Most Roku TVs ship with the Low Power display mode enabled. This is because energy efficiency regulations in many regions require electronics manufacturers to stay below certain power consumption limits. While it's more power-efficient, this setting reduces the display's maximum brightness, often to the point of negatively impacting image quality.
Low brightness levels can make bright scenes lose their visual pop or brilliance, and the overall image can look flatter compared to the same TV running in a different picture mode. You may struggle to notice fine detail in darker scenes too, as reduced brightness can compress the difference between dark shades of the same color. Lower brightness levels can also reduce color vibrancy on many displays.
Over the past decade, we've seen big leaps in display quality thanks to High Dynamic Range (HDR) technology improvements. Content mastered for HDR displays is specifically designed to take advantage of high brightness levels to produce intensely bright specular highlights while retaining detail in darker areas of the image. This is heavily affected by Low Power mode, and also one of the major areas where budget TVs differ from expensive ones.
[Image text:] NETFLIX
DisNEp+
atv+
discovery+